Friday, December 3, 2010

Term Project: Final Week of Production

Pages 8 and 1


Pages 2 and 7


Pages 6 and 3


Pages 4 and 5


1. The most valuable skills that I acquired this term were in relation to turning out digital creations into printed creations. Learning how to properly use Adobe InDesign was especially helpful, as was learning about which color modes to use for print and why certain tones don’t work well with printers.

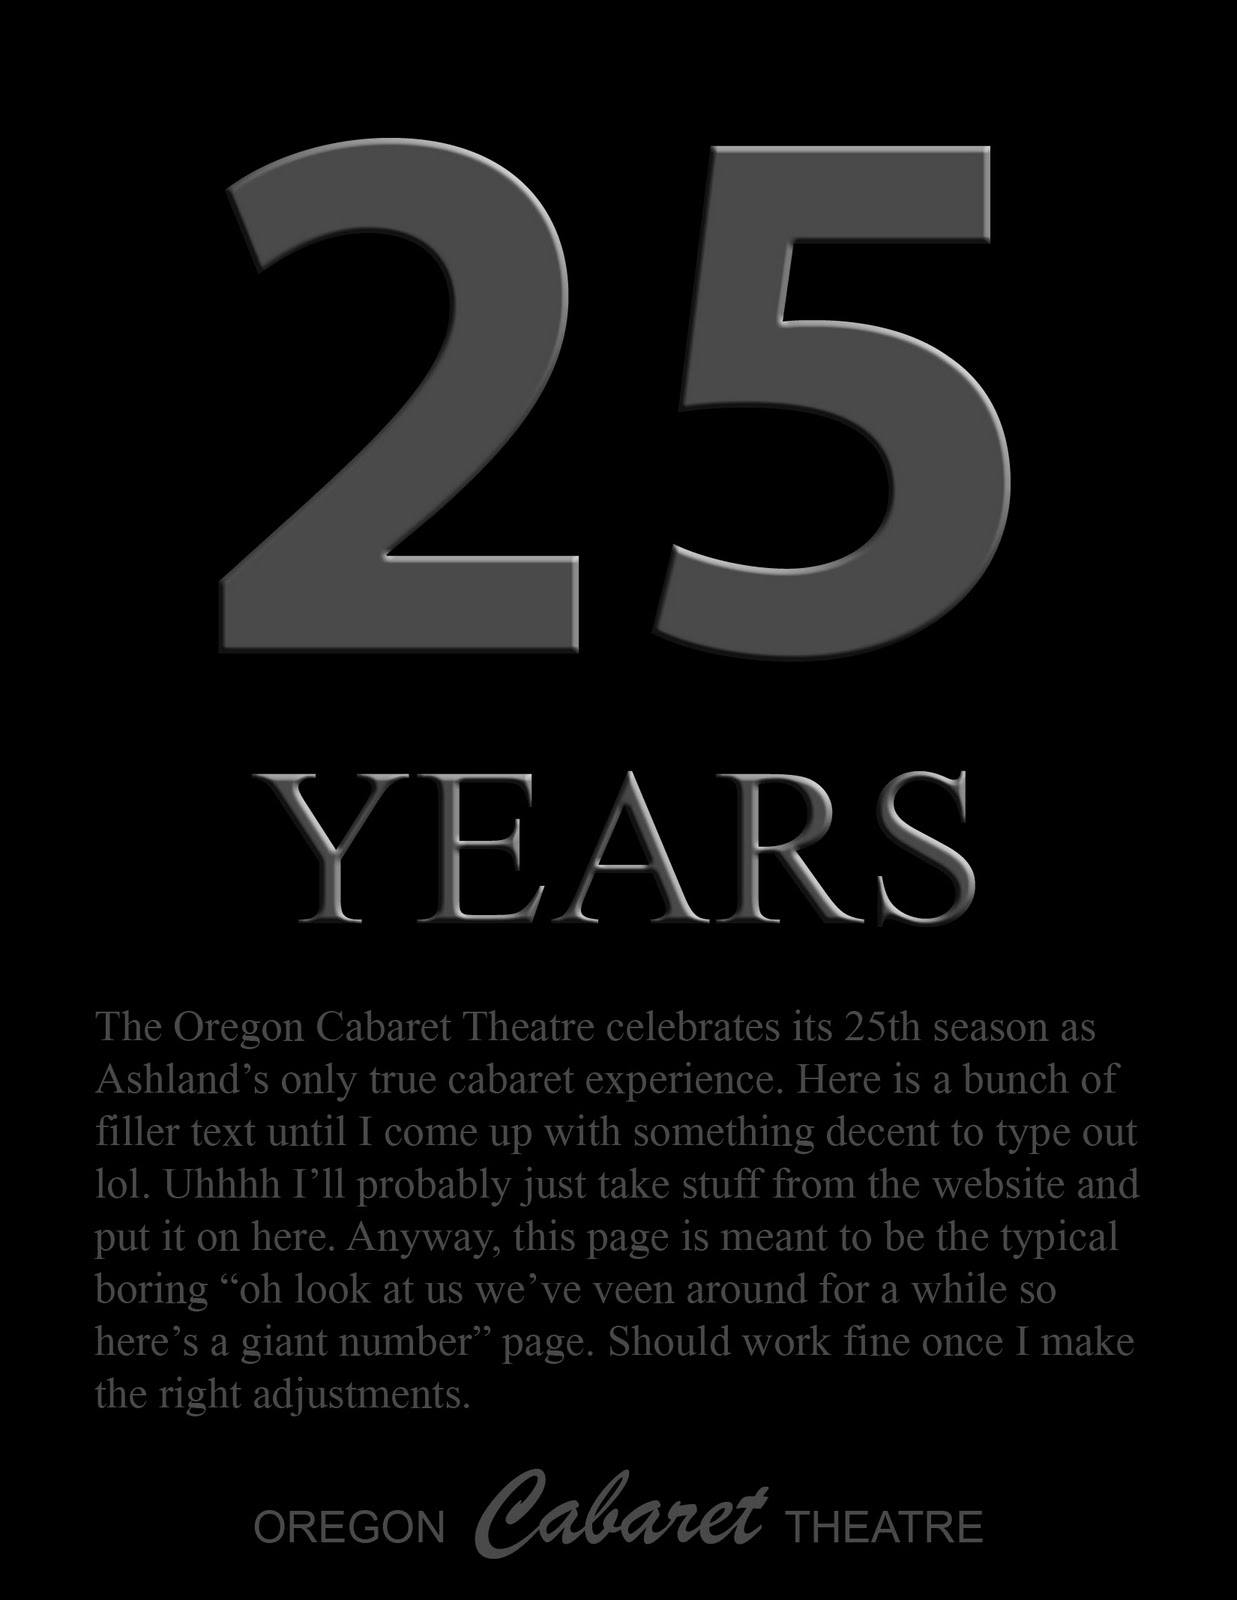
2. When I created my program, I wanted to focus as much attention as possible on the characters. Or in my case, the actors in the Cabaret performance. The Cabaret is a somewhat dark setting, and my book reflects that with a dark background. On the other hand, the characters are very colorfully dressed and I wanted as much detail as possible to stand out. I felt it necessary to include the production staff and and Director’s note. For these I didn’t stray too far from the Cabaret’s original design.

3. I plan to show my program to the Cabaret and see what they think. I feel that the current show programs are not something anyone would care to take home with them. Although my program is expensive to print, I feel that it does the characters justice. The photos by Christopher Briscoe are superb, whereas the original program has no photos at all. There is no way of telling who plays who.

Monday, November 15, 2010

Term Project: Book (Week 2)

Having a bit of computer trouble at home so I'm trying to finish things up on my netbook. Not workin' out so well. :P But I was able to at least post what I got done in lab. I will post the rest soon once things are back up and running at home.


Thursday, November 4, 2010

Term Project: Book (Week 1)


For my eight page book, I will create a program for the Oregon Cabaret Theatre's production of The Wizard of Panto-Land. I'm not being payed for it (someone else is doing a simple one-piece program for the show) but I would still like to create some kind of mock-up as practice in the assumption that I may have to create something similar for them in the future. InDesign is a program I'm not very familiar with but is something I would like to learn more about as I feel it would significantly broaden my abilities.

In terms of the content I will use, the Cabaret always lends me a CD with photos of the cast taken by Christopher Briscoe. These photos are taken against a white background and are perfect for use with ads, posters, and rack cards. I've even used them to create the menu covers at the cabaret, so long as I give photo credit to Chris. For my program, I will have dozens of these photos to choose from. I was thinking of using them with text to give short biographies of the cast members (I may need to make some up) and discuss the history of the Cabaret briefly. For the history of the Cabaret, I'll need to take my own pictures. I'll do this once the Cabaret puts up my Wizard-themed OCT banner. They can't seem to decide if it's finished or not.

Thursday, October 28, 2010

Project 5: Poster

I was very enthusiastic about this project. I felt like there was an opportunity to have a lot of fun with it, which is exactly what I did. It's also why I chose to do an extra poster just for fun.

I chose to tackle all three themes for my posters. The "Dirty Moby" show poster uses a lot of composition from several photos. I changed the sky to include the (somewhat symbolic) stars along with the "stars" of the show. The performer on the stage is indeed Moby, but he was cut out from a different picture and placed there. Obviously, the same is said for the huge TV screens on the edges of the stage. I really wanted most of the attention to fall towards the center of the piece. Texts is used sparsely, though in hindsight I probably should have included some form of contact information. I used the selection and edge refinement tools a lot more in this poster than any other piece. I made some lighting adjustments to Moby's on-stage persona as well so that he fit in naturally.

The Tea Party poster is my propaganda piece. It's relatively simple, though I spent a long time making the American flag-themed skull and crossbones fit nicely and realistically on the tea cup. The text is very large (minus the "drink democratic" line) with the idea that this poster would be used at some kind of rally or protest. However, I feel that it would be just as effective if hung up somewhere as a static advertisement as well. I used red for the TEA PARTY text since it's a color often associated with something bad, poisoness, evil, republican, etc.

Finally, I chose to make fun of Justin Bieber with a movie poster. I placed Bieber in a hair salon, then prettied him up a bit with some makeup (paint brush + low opacity.) I chose a somewhat girly round font to compliment his... girliness. On the font I added a white stroke around the edges and gave it a 3D emboss effect. Since he (err she) wants to be a boy, I chose a light blue color for the font. I also added a quote from a respected critic, and found a "movie poster" font for the text at the bottom. Apparently this style of text is industry standard at this point.

I want my posters to affect my audience in a humorous way. However, the Tea Party poster is more of a serious metaphor. Some Tea Partier confronted me about it, saying I was a "Typical libber who wants to kill anyone with a different opinion." I don't think he knows what "metaphor" even means.


Bonus poster(!):

Project 4: Pictures

This project took me a little longer to complete I'm afraid. Photography isn't really my thing, but I still had fun with it! I used a little bit of composition in most of my photos to give them a different look or make part of them stand out on their own.

My "other" was Chip Kelly - head coach of the now #1 ranked (woo!) Oregon Ducks football team. My family are season ticket holders and we attend every home game. We also have season passes to the Pittman Room, which is a sort of after party where people can sit down, listen to the coach speak about the game, and answer a few questions. I didn't ask permission to take the picture of him. But since it was similar to a press conference, obviously every other person had their camera out. This is the only picture that I didn't manipulate in any way.

I feel that I learned the most from the "Alphabet Soup" part of the assignment for two reasons: For one, the lighting conditions were terrible because I was foolish enough (and late enough with the assignment) to take them at night. Even in my room with two bright lights on, nothing really compares to natural sunlight coming through the windows. I learned that you should take pictures in the day time if you want something that looks natural. With that said, the low light conditions provided some shots with a nifty stylized look. In this part of the assignment I also learned to look at every day objects in a different way in order to find symbols within them.

Me (hypothetical)


Friend (Anthony)


Stranger (Chip Kelly)


Part II

O
Q
i
B

T

Thursday, October 14, 2010

Project 3: Type

For this assignment I chose two letters at random and the other three make up my girlfriend's name (Kim.) Overall I really enjoyed this project. I have to do a lot with type in my ads for the Cabaret, and it can be extremely challenging to make type look good with the rest of the elements included in the composition. Working exclusively with type gave me a chance to be a little more creative.

I did not rasterize my letters. Instead, I chose a letter and worked with it with the restrictions of a vector object in mind. You can still manipulate vectors in a surprising number of ways.

My favorite composition is the "i" even though I didn't really do much to the letter itself. It's sort of a ripoff...err tribute to some of Valve's Team Fortress 2 ads. They too were based on Apple's iPod silhouette ads.

I tend to gravitate more towards sans-serif fonts since I feel they're a bit cleaner looking. I really admire modern, elegant, and clean looking design when it comes to ads and I feel that using serif fonts gives off a much different vibe. Both styles of type are good for different situations. Though for work in this project, sans-serif seemed like the better choice for most of my compositions.


Sunday, October 10, 2010

Project 2: Toy


You're damn right that's Samuel L Jackson. Respect the man.

Right away I knew I wanted to do something a little different with the art style. I knew I wanted to create a celebrity and Samuel L Jackson was the first person that came to mind... for some reason. I just decided to run with it.

Rather than just use solid colors to create a cartoon-like representation of this person, I chose to use a picture of him instead. This proved to be more difficult than I had first anticipated since I had to use several photo manipulation techniques in order to realistically map his face and head onto the template. I first put a cutout of his face onto the template and then used content-aware fill to fill in the area around it. Unfortunately, content-aware doesn't work well with people, so I had to use the content-aware spot healing brush to remove all the extra eyes and mouths that filled in the blank spaces. After I cleaned it up a bit, I used the rubber stamp tool to fill in the other sides, and then used some more photo composition to add an ear to each side. To create his suit, I used the paint brush tool. I also removed the fold lines on his head as they didn't seem to go well with the "realism" look.

If I were going to create a story or setting for my character, I'd probably recreate a scene from "Pulp Fiction." Though I'd have to give Sam an afro, facial hair, and a Colt 1911 first.


Project 1: Scratch

For this project, I chose to use the same colors for each image. I simply liked these colors a lot and didn't want to make something extremely bright. For the first image, I knew I wanted to do something Cabaret Theatre related. Not only because I do some graphic design work for them, but because the colors I chose match the outdoor look of the Cabaret very well. For this image I used the shape tools and perspective tool to create the building, doors, stairs, and railing. I created a stroke around the doors and then used the paint brush to make simple bushes and flowers. Finally, I included text (the same font as the Cabaret uses for their logo) on the side of the building to show what it is.

For my second picture I created cutouts from some promotional photos that I use when making Cabaret ads for the current production. My favorite tool to use in CS5 (along with content-aware fill) is the edge refinement tool. This tool allows me to cut out figures very accurately - especially when the original image is against a white background. When I cut the figures out and applied an overlay, some areas were slightly opac so I used Smart Sharpen to help make sure the entire cutouts were a solid color (with the exception of the dots on Suzanne's shirt.) To finish it off I used large text in a way that incorporates all of the colors I chose. To do this I created the text in grey, then chose a blending mode that created high contrast in the text depending on which color it was hovering over. I then flattened the image and used the paint bucket tool to change these areas of the text to colors of my choice.

For the final picture, I used the paint brush tool almost exclusively. I was going to do a more complex drawing, but considering the simplicity of the colors I used, I decided to keep the content equally simple. In the end I felt it looked like something you might see driving down the highway when you're just entering Oregon. For the text I used the pen tool to create a text path.

Before this project, I felt that I knew quite a bit about Photoshop since I've taken classes that center around it and my job requires that I use it often. However, I don't normally create these kinds of images from just five contrasting colors, so I felt enlightened in a way. In Photoshop it's always nice to do new things. I'll definitely explore this technique later on. I feel that my second image (dancers) is my favorite because I was able to use some of the tools I enjoy most and am most comfortable with.